Homesteading Projects, Tips + Tricks
Starting our garden from scratch!
As an Amazon Associate I earn from qualifying purchases.
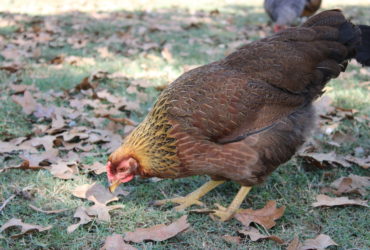
Shortly after we moved into our house in April 2018, I realized my need for a large garden space. I half-heartedly tried to grow tomatoes, peppers, and herbs in large containers, but the chickens and deer quickly figured that out. Since it was already April and we were focusing on building fences and moving in- I didn’t have much of a garden. I managed to keep the herbs alive and grew some small bunches of lettuce here and there, but a large garden plot for Spring 2019 was crucial.

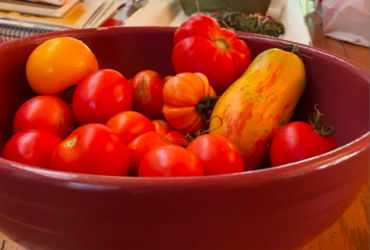
I adore pumpkins, squashes, and melons. Give me all the crazy, warty heirloom varieties. I love them all! Of course, those are the plants that need the most space, so I set out to till a fairly large garden plot to prepare for Spring 2019.
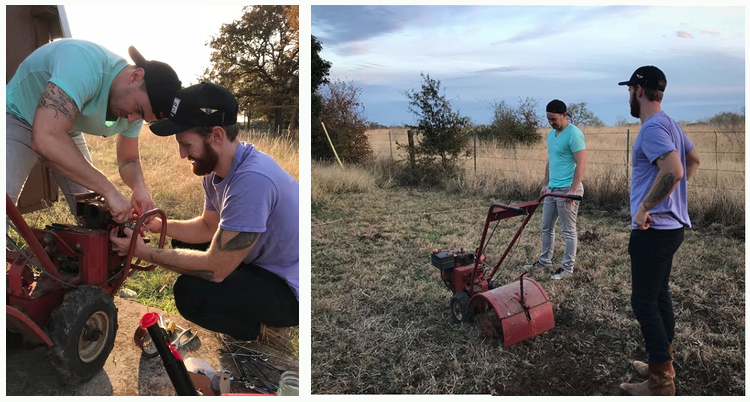
I really really wasn’t looking forward to this task because we have the stickiest clay soil ever. Paired with a property that is matted with bermuda grass. I knew it was going to be hard work. Our neighbor was able to lend us a broken tiller, which Dusty and his brother fixed, but the tiller is only useful when the ground is somewhat dry. After a pretty wet fall/winter I was left to break up the grass and remove roots by hand (by shovel, by rake, by cultivator). Many a sore muscle later, we have the beginnings of our first garden! I’ll break down the process for anyone curious in starting their own in-ground garden.

I always feel the need to do a lot of researching before diving into a project. But in the end, no one blog post or youtube video will describe your situation perfectly. So I ended up just doing my best and implementing the methods that I felt confident in. There’s probably at least 10 other ways I could have gone about starting this garden, but I want to see and learn for myself how my method will perform.
The first thing I did was consult Dusty on where I could put my garden. I wanted it right outside the back porch, but he claims he is going to be extending our deck and putting in a hot tub (LOL, that better be happening soon!). I moved my plans slightly farther from the house but somewhere I still had access to a water spigot. Dusty had also collected some free lumber off craigslist (the best source of building materials!) so we also planned to build a large raised bed along with the in-ground part of the garden.
I put tent stakes in the ground and measured from the fence to make sure the in-ground part of the garden was even, then I wrapped yarn around the stakes so I could easily see the boundaries of my plot. I made sure the garden wasn’t too wide so that I couldn’t get to the middle of it.
Then, I started the painstaking task of removing chunks of bermuda grass from the soil. Holy moly. Bermuda grass is the worst grass ever. I hate it. I considered lighting it on fire. It holds on so tight and deep into the soil. I had to hack at it and dig almost 6″ down to remove any roots at all. Cue the tiller.

After repairing the tiller and replacing the carburetor, we were in business. We started removing small strips of the bermuda grass and loosening the hard clay soil. The ground was so hard we had to lower the tiller into the ground ever so slowly, or else the tiller would catch the solid ground and take off like it had a mind of its own. But soon it began to rain. Days and days of rain that turned the hard clay soil into lumps of sticky mud. So I was back to hand-removal.
I did my best to disturb the strong roots of the bermuda grass. It was back breaking. The best method I found to do this was to work in rows. I started on one end of the garden bed and worked my way down walking backwards, removing grass as I went. I would spade my shovel into the ground, stomping it deeper with my foot. Then tip the shovel back to bring up a chunk of dirt and grass. Then I would lift the shovel up and moving backwards down the row thrust it into the ground again, repeating the process down the whole row. This at least ripped up most of the roots.
Then came the compost. In an attempt to loosen up the thick clay soil, I decided on the method of adding compost and other organic matter to the garden bed then letting it sit until spring. Thankfully clayey soil is very good at harboring rich nutrients. The structure of the clay molecules is great at holding on to good minerals and other things plants love (thank you geology degree). Nevertheless, adding organic material will help lighten the clay significantly. The compost will help to reduce the influence of the clay particles by introducing different soil textures. Clay also compacts very easily so adding these lighter components will help prevent it from packing back down into a clay pancake. (Great article about clay! https://www.finegardening.com/article/improving-clay-soils)

I have a compost pile that I started fairly early on after moving into the house. I soon found myself with more chicken poop than I knew what to do this, so a compost pile was a natural next step. Thankfully chickens poop a lot, so there was plenty of decomposed manure to add to my garden.
I added a few inches of compost on top of the entire garden bed that I dug up. There were still large chunks of dirt from my hand-tilling attempts, but the plan is to till again before planting in spring when it dries out sufficiently. This will help to mix everything together and hopefully incorporate the compost deeper. Along with the compost I scattered fallen fall leaves and horse poop into the mix. (Yes I asked my neighbor if I could have some horse poop, don’t judge me).
So now we wait… I’m excited to see how the plants respond to my efforts. I think improving the clay soil will be a long endeavor, but not without its rewards.
That Fine Gardening article (https://www.finegardening.com/article/improving-clay-soils) gave me a few other suggestions I am willing to try next fall, such as the planting of cover crops to deter weeds and continue improving the soil structure. We will also be fencing this area in and adding a utility sink for washing veggies.
The final product for now!